

Inlaid Guitar Nut Removal
To remove an inlaid guitar nut you must first separate the nut from the guitar finish coating. Support the neck of the guitar and use a sharp razor knife or Xacto knife to cut along the edges of the nut where it meets the fretboard. It is extremely important to hold the cutting edge at an approximate 45 degree angle against the nut to avoid cutting the fretboard.

After the nut is separated from the finish coating, use a pair of needle nose pliers to grab the nut and lift it upward out of the groove. If the guitar nut doesn’t easily come out of the groove, use a flat object the width of the nut and a small mallet or hammer and gently tap on the side of the nut to drive it out of the groove. It should be noted that if the nut does not break

loose with a reasonable amount of force, we strongly recommend that you stop and take the guitar to a luthier or qualified guitar technician.
Acoustic Type Guitar Nut Removal

finish coating, take a small block of wood (a piece of 1” x 2” stock works well) and lay it flat on the fretboard against the nut. Gently tap the wood with a small mallet or hammer and the nut should roll forward and come loose. If the nut doesn’t come loose with a reasonable amount of force, we highly recommend that you take the guitar to a luthier or qualified guitar technician to avoid damaging your guitar.
The Gibson or Acoustic type guitar nuts are generally easier to remove than inlaid guitar nuts. This is because they are butted up against the edge of the fretboard and sit flat on the neck instead of being placed in a groove. Support the neck of the guitar and score the finish coating around the edges of the nut where it meets the fretboard and neck using the same procedures described in the inlaid guitar nut removal section. Be careful not to cut the fretboard or headstock. Once the nut has been separated from the

Installing A New Guitar Nut
Once the old guitar nut is removed, use a small sharp scraper or file to remove remnants of glue or material so the new nut will fit correctly.

Inlaid nuts must be fully seated and fit snugly in the fretboard groove. The acoustic type nuts must butt up squarely against the edge of the fretboard and sit flat on the neck. Put the new nut in place and restring the guitar before gluing the nut in place. Check the fit and string height. If the strings need to lowered, remove the nut and take material off the bottom surface using a file or a flat sanding block. Care must be taken to not
to remove too much material and to keep the bottom edge square for proper alignment.
Gluing The Guitar Nut In Place
When the guitar nut is correctly fitted, the next step is to glue it in place. The factories and repair facilities have access to high quality guitar nut glues that hold the nut in place, yet allow for its removal when necessary. It is extremely important to note that the guitar strings hold the nut in place. The glue is used to keep the nut in place when the strings are not on the guitar. Using too much glue, or the wrong type of glue, will make replacing the nut at a future date very difficult. If specialized guitar nut glue is not available, then regular water soluble wood glue diluted 50% with water will meet the requirements.

For inlaid guitar nuts, unstring the guitar and remove the nut. Place a small amount glue in the center of the nut or the fretboard groove and set the nut in place. Be sure to check that the nut is fully seated in the groove and the outside edges are flush with the fretboard.
For the Gibson or acoustic type guitar nuts, unstring the guitar and remove the nut. Place a small amount of glue
After the guitar nut is removed and replaced, check the nut by following the procedures outlined in the Measuring The Electric Guitar Nut Height section to measure the new nut’s clearances at each string. If the clearance measurement is more than .005” on any string, carefully file down the groove, taking constant measurements until the proper clearance (.005”) is reached.

in the center of the nut or the neck at the leading edge of the fretboard. Set the new nut in place. It is important that the nut is squarely butted against the edge of the fretboard and it sits flat on the neck. Also check the outer edges of the nut to be sure they are flush with the fretboard.
Once you are satisfied with the guitar nut measurements, it is time to move to the next section on Electric Guitar Setup .com and check the Guitar Truss Rod Adjustment.
Guitar Nut Replacement
Electric guitar nuts are glued in place with a small amount of high quality guitar nut glue. The glue is specifically designed to enable you to replace the guitar nut. When removing the guitar nut, it should be noted that if it does not break loose easily, we highly recommend taking your guitar to a qualified guitar technician or luthier to prevent damage to your guitar neck.
The two most common electric guitar nuts produced are the inlaid units and the acoustic type of nut. Inlaid guitar nuts, which are used on Fender Guitars, are seated into a groove cut into the fretboard. The acoustic type guitar nut, which are commonly used on Gibson and Epiphone Guitars, are butted up against the edge of the fretboard and are glued to the neck at the headstock.


same. However, we don’t live in a perfect world and more than likely, these measurements will vary somewhat. Small variations are acceptable, but if there are large discrepancies on the positive side of .005”, the nut may need to be dressed with guitar nut files (Luthier Nut File). To prevent too much material from being removed from the nut grooves, remove material carefully and slowly while taking continual, accurate measurements.
worn out and should be replaced. It is important to point out that this measurement is just a reference point. If the nut measurement on your electric guitar is less than .005” and it stays in tune and plays fine, don’t change it! The important thing after all, is a good playing and sounding guitar, not matching the guitar specifications. Measure each string, one at a time, in the same manner.
In a perfect world, all the string measurements should be exactly the

To check the guitar nut height, tune the guitar and lay it flat on a table or other flat, clean, padded surface. Check each string separately by fretting the string between the second and third fret. While holding the string down, use an automotive feeler gauge to measure the clearance between the top of the first fret and the lower edge of the string being fretted. The rule of thumb here is a minimum of .005” clearance. Less than .005” and the nut is

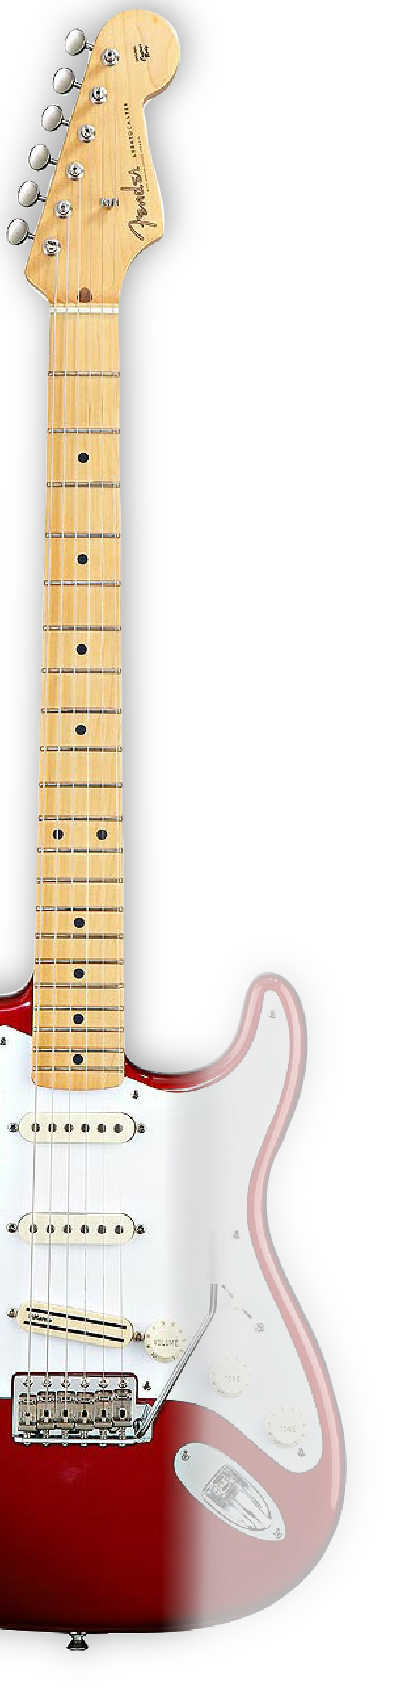
Checking The Electric Guitar Nut
The electric guitar nut is the rectangular grooved block that shims up the strings
and sits between the headstock and the fretboard. The nut is usually made of medium-
